Previous Episodes:
Episode 3| Episode 4| Episode 5| Episode 6| Episode 7| Episode 8
Episode 9: Saffron City-Cinnabar Island
(Lv. 43 Cap)
At this point, the run has settled down quite a bit.
There were a few issues early on, but since then it’s been relatively straightforward. A couple of close calls here and there, but nothing too serious.
I’ve been playing it fairly safe, and it seems to be working so far.
Next up is Silph Co, along with the rival fight and Giovanni — so it’s time to make sure the team is ready.
Back to the Grind
After beating Koga, I head back to Cycling Road to get the team ready for what’s next.
Silph Co is coming up, along with the rival fight and Giovanni, so I don’t want to go in underlevelled. I spend some time grinding and get the whole team up to level 39.
Thrilling stuff.
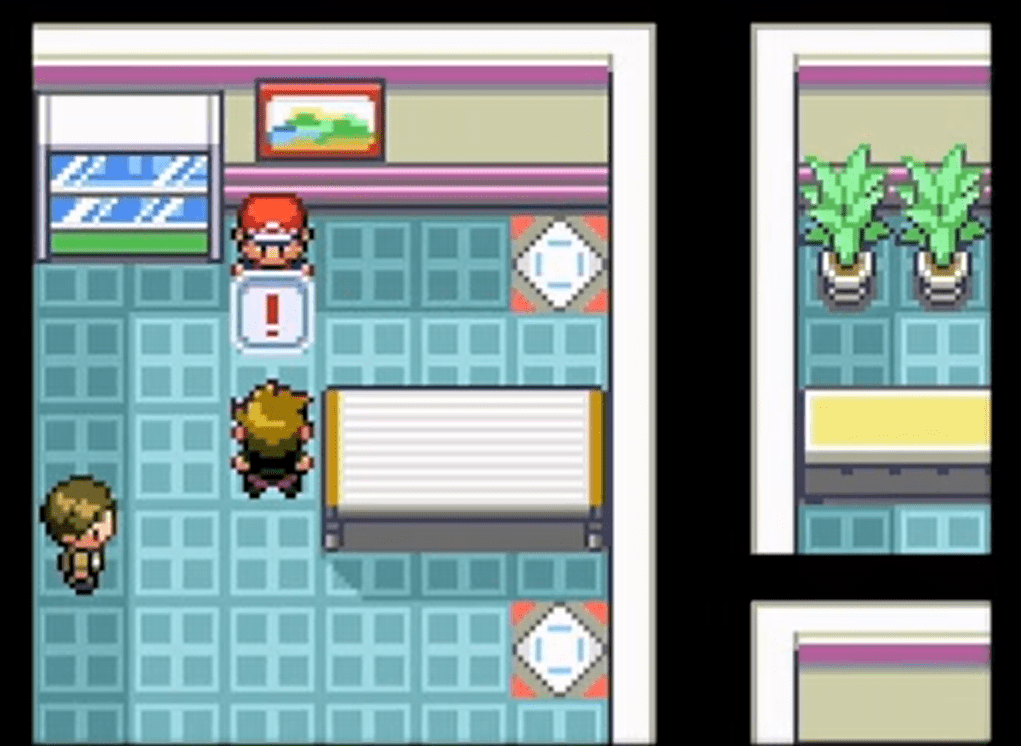
I head back to where I left off before.
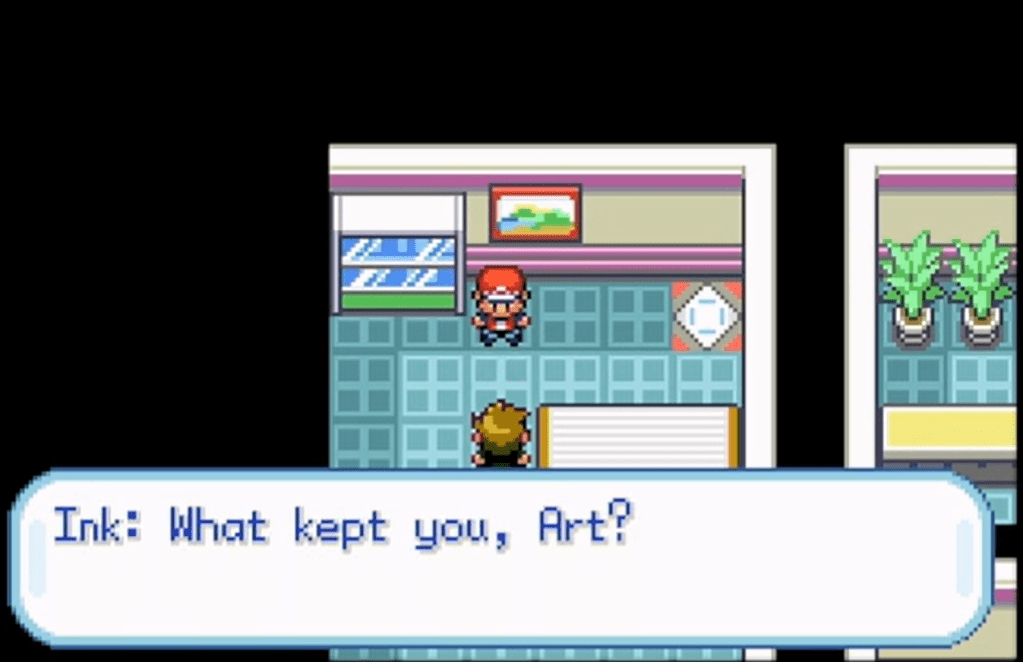
Now ready to face Ink with some more balance in the team I move forward and begin the battle.
Ink asks me what took me so long and that’s a fair question, grinding levels takes a lot longer than it used to!
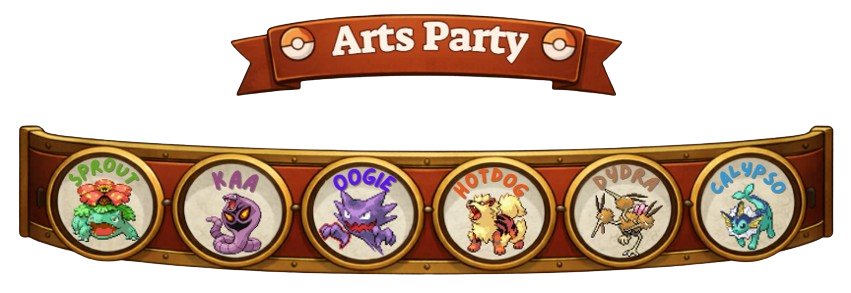
I lead with Calypso, he leads with Pidgeot.
Aurora Beam — super effective — and it goes down in two hits.
For once, a clean start.
Next up is Exeggcute.
I keep Calypso in and go for Aurora Beam again, taking around 80% of its health. It uses Stun Spore, which is annoying, so I switch into Dydra. I need Calypso at full health for what’s coming later.
Dydra finishes it off with Aerial Ace.
He sends out Alakazam.
This is the one I’m most concerned about, so I switch into Hotdog.
It sets up Reflect, which isn’t ideal, but Bite still does a lot of damage. It goes for Calm Mind — which I’m more than happy to see — and the next Bite takes it down.
That could have gone a lot worse.
Next is Gyarados.
I switch into Sprout, expecting a Water move.
I go for Razor Leaf, but it barely does anything. Gyarados uses Dragon Rage, which immediately takes over a third of Sprout’s health.
Great.
I set up Leech Seed and play it safe from there — healing Sprout while it keeps using Dragon Rage.
Once Gyarados is low, I switch back into Calypso.
While it’s slowly going down in the background, I take the opportunity to heal Calypso fully and cure the paralysis.
Gyarados drops.
Last but definitely not least, Charizard.
It comes in at level 40 and immediately goes for Wing Attack, taking nearly half of Calypso’s health.
If that crit, Calypso would have been in some serious trouble. Not ideal.
I go for Surf and bring it into the red.
I heal up Calypso, and it goes for Flamethrower… against a Water type?
Interesting choice.
A few turns later, Charizard goes down to Water Pulse.
The fight ends with no casualties.
Somehow.
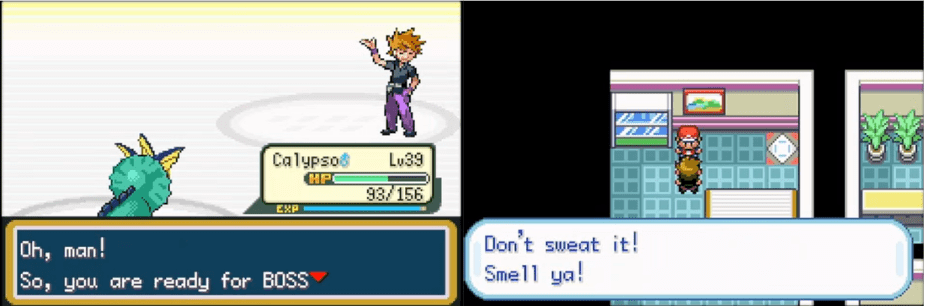
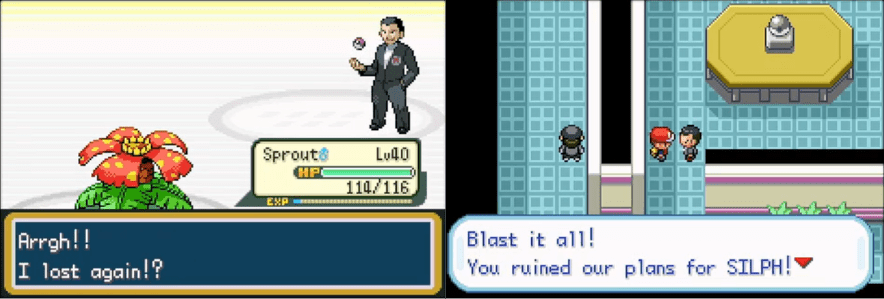
After the battle, Ink tells me I’m finally ready to face the boss — unlike him — and runs off.
I heal up and head towards the boss.
Just before the teleport pad, a Silph Co employee stops me and hands me a Lapras for trying to help them.

Can’t complain.
I name him SeaCow — a very solid backup if anything ever happens to Calypso. Hopefully it won’t need to.
I head towards the next teleporting pad and prepare to face the boss.
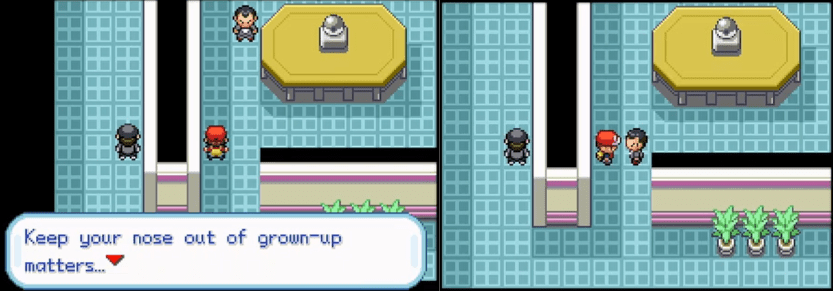
I take out the grunt guarding the room and step inside.
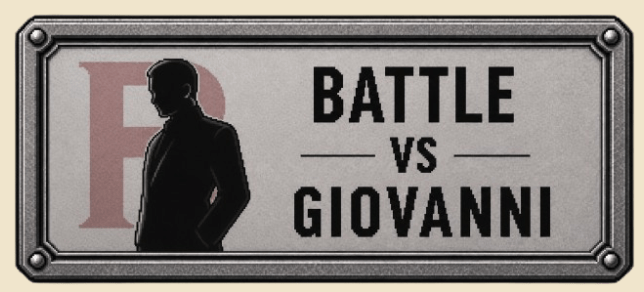
Giovanni isn’t too pleased to see me again after being embarrassed in Celadon, and this time he wants revenge.
I lead with Sprout, expecting a similar battle to before.
I’m wrong.
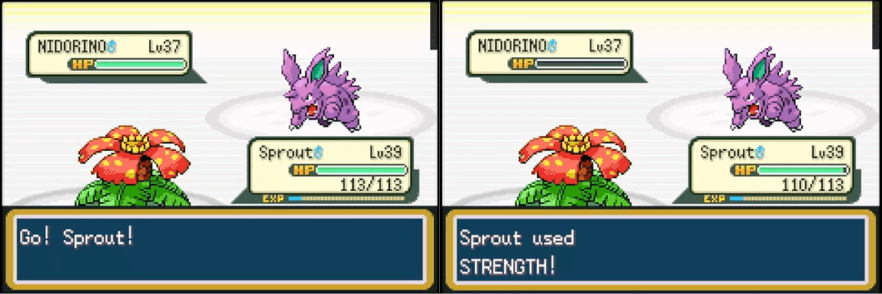
This time he leads with a level 37 Nidorino.
(Maybe this explains the whole Moon Stone situation back at Mt. Moon.)
I set up Leech Seed straight away and start using Strength.
After a few turns, Nidorino goes down, and Sprout is still at full health thanks to Leech Seed.
At this point, Leech Seed is doing most of the work.
Next is Nidoqueen.
I set up Leech Seed again.
Body Slam doesn’t do too much at first, so I go for Strength, expecting a repeat of the last fight… but the next Body Slam crits and suddenly Sprout drops to under a third of its health.
That escalated quickly.
I go for Sleep Powder and finish it off over the next few turns, recovering health through Leech Seed.
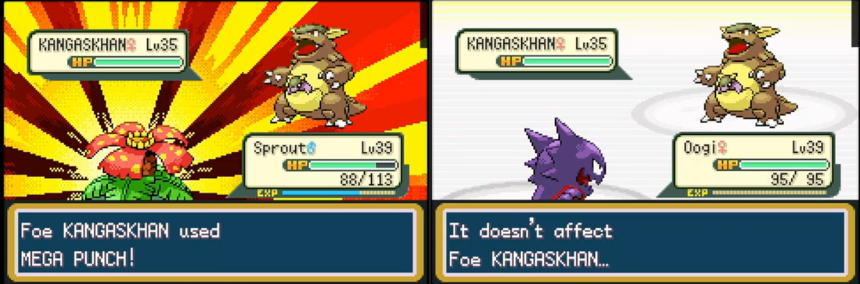
Next up is Kangaskhan.
I switch into Oogie, thinking it’s a good idea — Kangaskhan shouldn’t be able to hit it.
Problem is, Oogie can’t really hit it either.
Brilliant.
I try a few Confuse Rays, but nothing really comes from it, so I use the opportunity to heal Sprout and switch back in.
By this point, Kangaskhan has used Tail Whip a couple of times, so Sprout’s defence is already lowered.
Not ideal.
I set up Leech Seed and go for Strength, but it only does around a quarter of its health.
Kangaskhan goes for Mega Punch — over half my health gone.
If that crit, Sprout would have been down.
I really need to stop risking one of these days I will regret it.
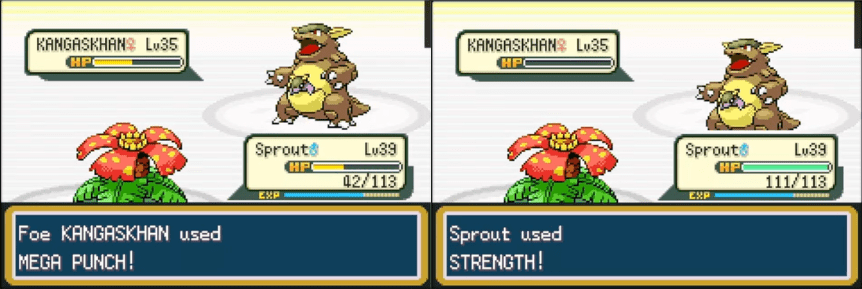
I heal up again and play it safer this time.
After a few more turns of Leech Seed and Strength, Kangaskhan finally goes down.
That Pokemon was as hard as nails.
Last up is Rhyhorn.
It goes down in one hit to Razor Leaf.
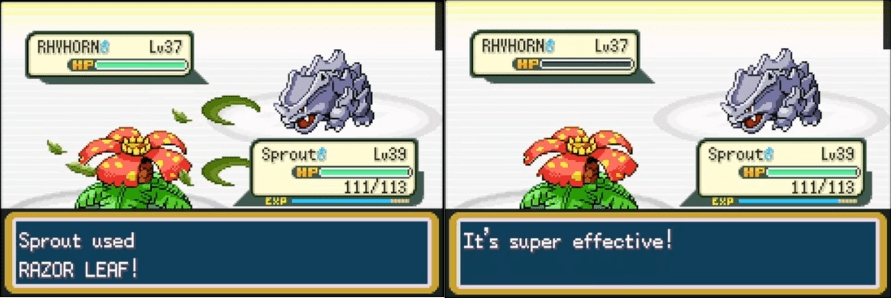
At least something behaves as expected.
I win.
Giovanni is foiled by a 10-year-old again.
You’d think he’d have given up by now.
The Silph Co chairman rewards me with the Master Ball — that will definitely come in handy later.

That’s two big fights in a row that have gone cleanly.
Let’s see if I can make it three against Sabrina.
I head into Sabrina’s Gym knowing I need to be careful here.
She’s one of the more dangerous Gym Leaders, with a very hard-hitting team — especially her level 43 Alakazam. If that gets going with Calm Mind, it can easily end the run.
I do have some answers for it, but this is definitely not a fight to rush.
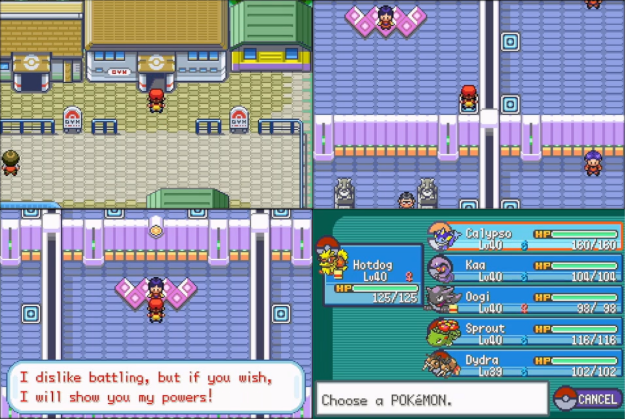
After making my way through the maze of teleport pads and clearing out all the trainers, I finally reach Sabrina.
The team is sitting around level 40 which should.. be enough to see them through this battle with some some.
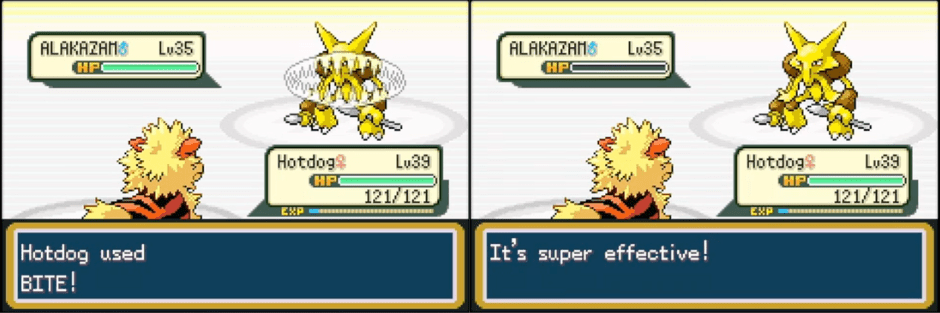
I lead with Hotdog. Strong attacker, access to Bite — it makes sense here.
(In hindsight, I probably should have taught Oogie Shadow Ball, but I didn’t want to risk wasting it if she went down. Game Corner grind wasn’t something I wanted to repeat.)
Sabrina leads with Kadabra.

I go for Bite… and it lives on 1HP.
Not ideal.
She heals, so I switch to Flame Wheel, knowing Bite will finish it next turn — which it does.
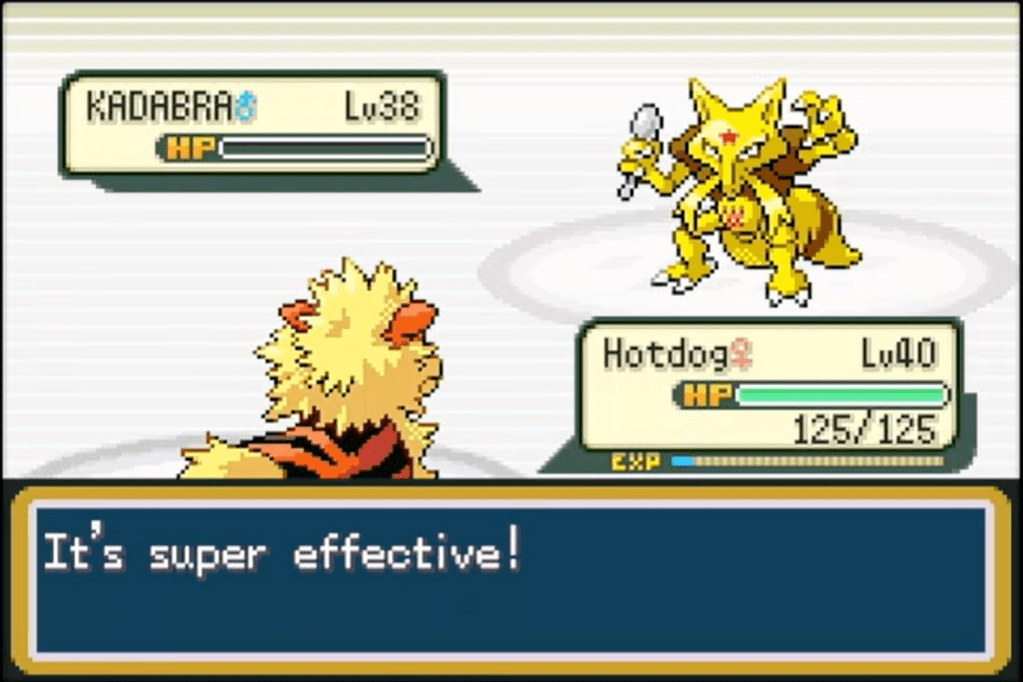
1 down.
Next is Mr. Mime.
Still not much of a problem. A combination of Flamethrower and Bite takes it out comfortably.
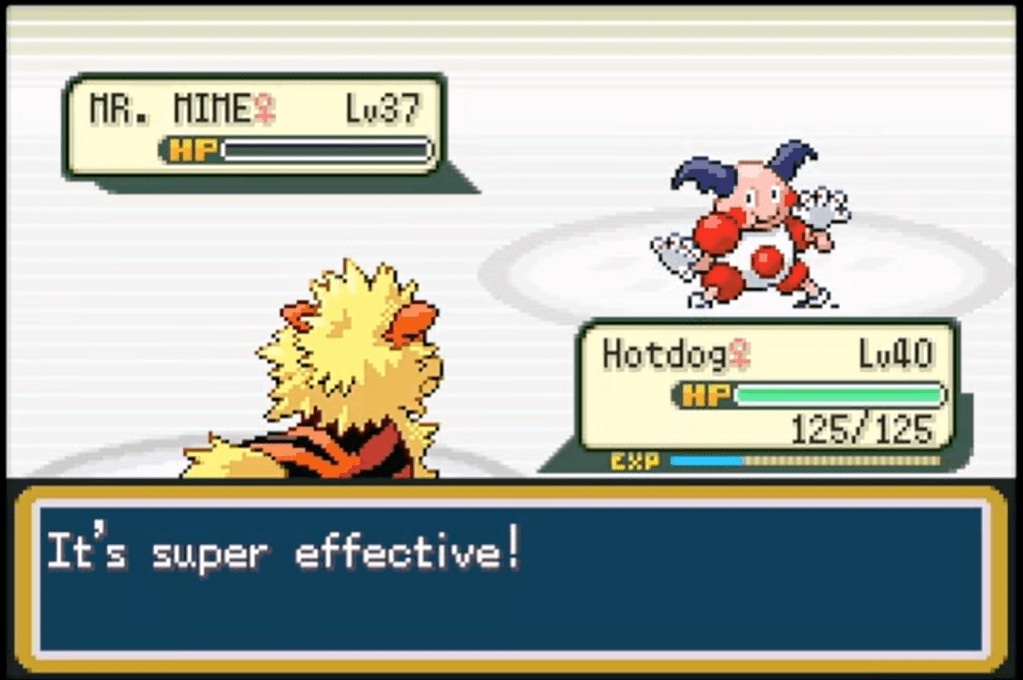
2 down.
Then Venomoth.
One Flamethrower.
Gone.
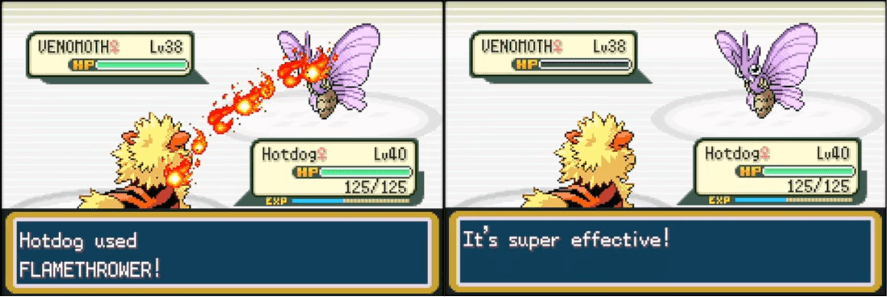
3 down.
At this point, it’s been surprisingly easy.
I’m starting to think I might have overprepared.
Alakazam
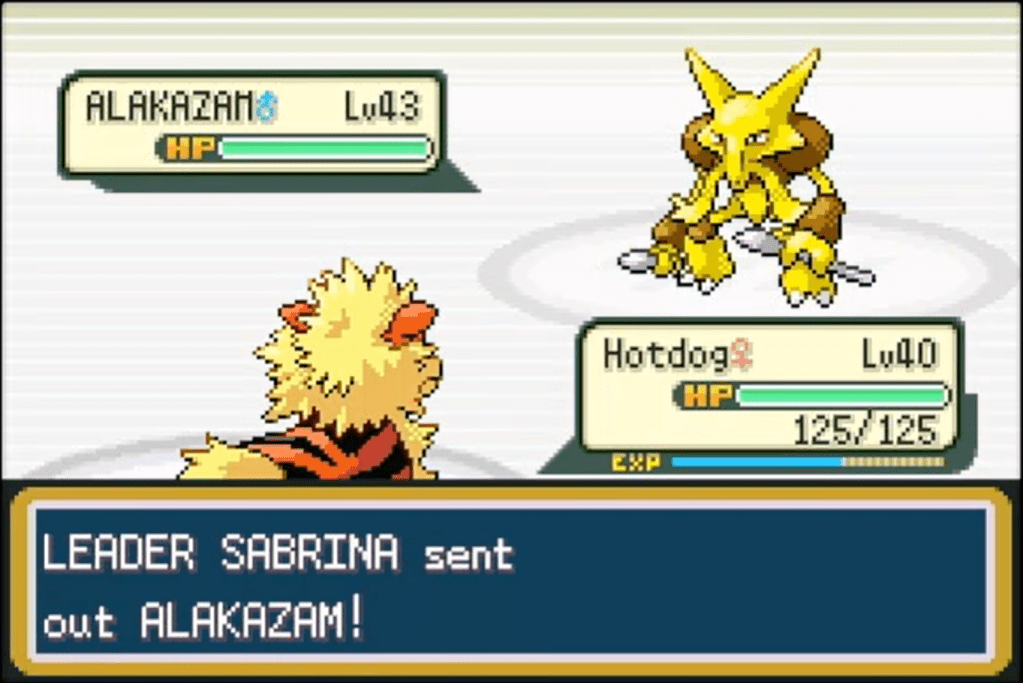
Alakazam is the real problem here.
It’s fast, hits hard, and once it starts setting up Calm Mind it can spiral quickly.
This is the fight that can actually end the run.
What follows is easily the sketchiest fight of the run so far.
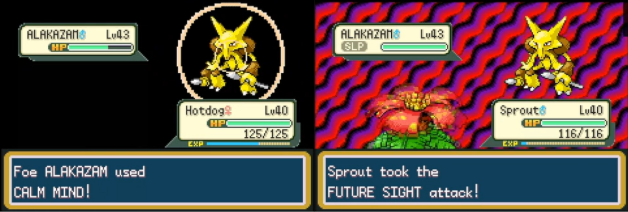
That could have gone very differently.
I was fully expecting a Psychic at any point, and I don’t think anything on my team was taking it after those Calm Minds.
Somehow it kept going for Future Sight, and I ended up getting away with it.
I’ll take it — but that was a fluke.
Summary
This episode was mostly preparation, but it paid off.
Getting the team up to level 39/40 made a big difference going into Silph Co, and both the rival fight and Giovanni went pretty smoothly overall. A couple of moments could have gone wrong, but nothing ever got completely out of control.
Sabrina was a different story.
The fight started comfortably enough, but once Alakazam came out it very quickly turned into something a lot less controlled. After a couple of Calm Minds, I don’t think anything on my team was taking a Psychic, so it ended up coming down to a mix of scrambling and, realistically, a fair bit of luck.
Somehow it worked.

The run has been relatively safe so far, but that fight was a good reminder that it doesn’t take much for things to go wrong, especially this late on.
Still, no losses, three big fights handled, and the team is in a strong position going into the next part of the run.

- New Encounters
- Cinnabar Island
- Blaines Gym
Continue the Journey

Leave a comment